Tron Wallet
CEX.IO Tron (TRX) Tether Wallet: Easy Access for iOS, Android, and Desktop Users
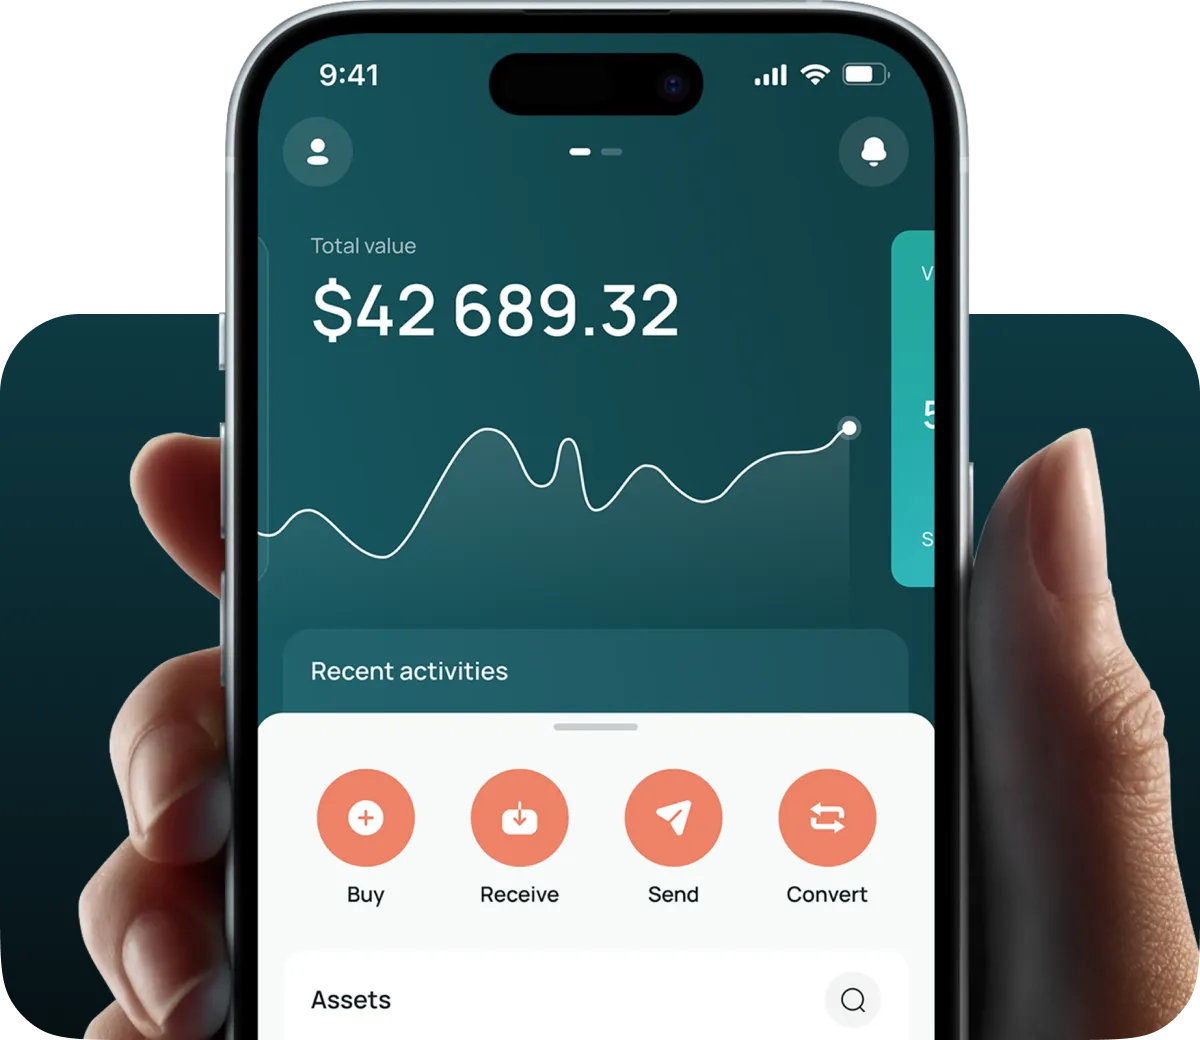
Getting the right crypto wallet is essential for anyone looking to buy and sell crypto, including Tron. While there are many ways you can buy TRX and manage your tokens, most users (primarily beginners) choose custodial wallets offered by centralized exchanges like CEX.IO. In this article, we’ll touch on the subject of buying, selling, and storing Tron (TRX). We’ll explore different wallet gateways catering to both desktop and mobile users. Read on to learn more.
Check out our detailed guide and set up your Tron wallet today!
Guide & FAQ
What is Tron (TRX)?
Before we delve deeper into wallet mechanisms, let’s first introduce Tron to those who might be new to the crypto market. In short, Tron is a blockchain-based decentralized platform founded by Justin Sun in 2017. The aim was to create a global digital entertainment ecosystem.
Tron serves different utilities, allowing content creators to publish, store, and own their data without intermediaries, promoting an open and accessible environment for digital content distribution.
Its design and algorithm structure allow the Tron network to potentially handle high throughput and scalability, as well as handle numerous transactions per second with low fees. It also supports smart contracts and the creation of decentralized applications (dApps). This could make it ideal for applications like gaming and finance.
TRX is Tron’s native cryptocurrency. It serves several purposes: transaction support, smart contract execution, and dApps deployment. It also enables peer-to-peer payments and remittances. Holders can stake their tokens to support network operations and participate in governance decisions.
Tron is also available for staking at CEX.IO, where eligible participants can earn crypto rewards by holding TRX in their custodial wallets. CEX.IO also offers Crypto savings services within our Earn Crypto program. However, unlike staking, TRX is not currently available for savings. Those interested in participating in our Savings program can explore other assets.
Now that’s off the table, let’s see how to buy TRX, then create and set up a Tron wallet on CEX.IO.
Step-by-Step guide: How to Set Tron Wallet for Mobile & Desktop
Establishing a Tron wallet on CEX.IO is effortless and typically requires a few minutes to complete. To expedite the process, we recommend preparing your ID or driving license beforehand. Here are the steps to set up Tron wallet:
- Visit the official CEX.IO website.
- Navigate to the Products menu from the navigation bar.
- From there, choose Wallet.
- Once you’re in, click Create Your Wallet.
- Enter your name, last name, email address, and create a strong password.
- Complete the verification process.
- Access your Wallet through the user profile.
Keep in mind that the steps outlined above describe the web wallet creation process for desktop users. We also offer an Android crypto wallet and an iOS crypto wallet for on-the-go users. To establish a mobile Tron wallet, you need to download and install corresponding smartphone apps, available in your mobile app store. Then, follow the steps above to complete the wallet creation process.
Types of Tron Wallet
As mentioned earlier, there are several types of wallets, including mobile and web versions for desktops, divided into different categories and subcategories. The most popular categorization includes:
- Custodial – These wallets are managed by third-party providers (like CEX.IO), which hold and secure the user’s private keys. This offers convenience and simplified security, making custodial wallets potentially better for beginners who may not be familiar with managing private keys or implementing advanced security measures.
- Non-custodial – Give users full control over their private keys, providing potentially greater autonomy and security. On the offset, this solution may require more responsibility and technical knowledge.
But there’s more. If you remember, we mentioned the Tron Tether wallet earlier. This means that on platforms like CEX.IO, users can access a Tron Tether wallet that supports both Tron (TRX) and Tether (USDT) tokens. The Tron Tether wallet on CEX.IO allows users to securely store, trade, and transfer their TRX and USDT assets within a single, user-friendly interface.
For those interested in obtaining Tether, there’s a guide on how to buy USDT on our website.
How to Send and Receive Tron
Once you set up your CEX.IO wallet, you’ll become ready to send and receive Tron. Here’s the most intuitive way to send TRX:
- Head on to the Products tab and go to Wallet.
- Choose TRX as the asset you wish to send.
- Select Send fund.
- Enter the amount of TRX you wish to withdraw. You’ll find the fiat equivalent in your account's main currency (this may be USD, GBP, or EUR).
- Click on the payment method field and enter the recipient's address. You can either enter it manually or simply scan a QR code.
- Enter the two-factor authentication code (2FA) to complete the transaction.
To receive TRX, follow these steps:
- Navigate to the Wallet tab.
- Choose TRX as the desired currency.
- Go to Add Funds.
- Find and copy your CEX.IO deposit address.
- Use your CEX.IO TRX wallet address to send TRX from other wallets.
How can I track the value of my TRX?
Those interested in observing the real-time value of TRX can visit our Tron price chart. This resource allows interested participants to track TRX’s historical price, as well as its current market cap and 24-hour trading volume.
What payment methods can I use to buy TRX on CEX.IO?
CEX.IO offers a plethora of payment solutions eligible participants can use to acquire TRX, as well as 200+ vetted assets. These include credit and debit cards, bank accounts, and electronic wallets (Google Pay, Apple Pay, MoneyGram, Faster Payments, Skrill, Neteller, and PayPal).
What is CEX.IO Crypto Card?
The CEX.IO Crypto Debit card is a card that acts like any other bank-issued payment card. This one allows users to seamlessly spend their crypto holdings on in-store and online purchases, potentially bridging the gap between fiat and crypto. This card is available only to European Economic Area (EEA) members.